


Crimson Desert: Complete Walkthrough for ‘Gate to the Otherworld’ Quest
Chapter 4 sends players to the Scholastone Institute for the 56th main quest in Crimson Desert. You meet Octavius, an orc scholar conducting a risky experiment. The sequence mixes logic puzzles with a final aerial boss encounter.
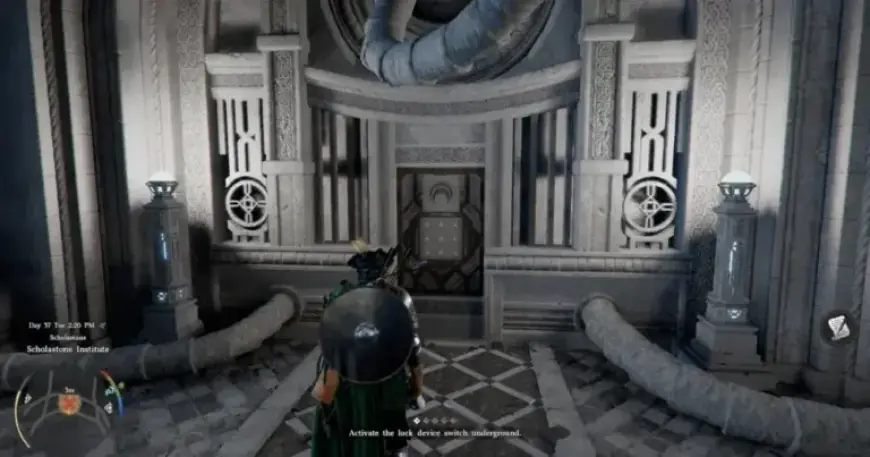
Begin the puzzle
The first task starts at the northeast corner of the plaza. Follow the lantern-lined path downward to find a wall panel labeled the hatch. Interact to open a 3×3 tile grid puzzle.
3×3 grid solution
Pressing a tile also toggles its adjacent tiles. The aim is to have all nine tiles glow at once. If the grid looks scrambled, exit the panel to reset it.
- Top-left corner
- Bottom-right corner
- Bottom-left corner
- Top-right corner
- Middle tile
After the sequence, interact with the panel again to pull the switch. Use the controller D-pad left or right to cycle tiles for more precise selection.
Powering the pillars
Return to the main plaza using the left staircase of the open pillared area. Four floating cube batteries hover near four pillars. Each cube belongs to the pillar directly in front of it.
How to insert each battery
- Hold Axiom Force to grab a cube.
- Float it toward the pillar slot; the cube auto-aligns when close.
- Release Axiom Force, then immediately use Force Palm to shove the cube into the opening.
- Repeat until all four batteries are installed.
Each insertion fires a laser at a central orb. Once all four connect, a cutscene triggers Octavius’s experiment.
Unstable core and boss spawn
The device becomes unstable and prompts you to remove the core using Axiom Force. Aim at the glowing blue orb and hold Axiom Force. While holding the pull input, push the right stick upward for several seconds.
The core detaches and Octavius is pulled into the rift. A shadow entity called Tenebrum appears and the boss fight starts.
Defeating Tenebrum
Begin by using Blinding Flash to reveal the creature’s weak point. Aim and activate Blinding Flash once. A square marker will appear and remain visible.
Tenebrum circles the open plaza area and fires shadow projectiles. Use the updraft in the center to stay airborne. Double-jump over the open floor to catch the updraft.
Attack windows and recovery
Wait for Tenebrum to drift to the center and charge a shockwave. While airborne, hit it with Force Palm. One clean hit removes a large chunk of health.
Repeat this process three times to finish the fight. If your Spirit depletes, hide behind a pillar and hold both sticks to meditate and recover. Projectiles can knock you off the upper level. You will take fall damage, but the encounter continues after you climb back.
Rewards and next steps
After Tenebrum falls, pick up the Abyss Artifact at Octavius’s last position. You also receive a key that opens the Spire of the Stars.
The Spire of the Stars is the next objective in the Forbidden Knowledge arc. It features a more complex symbol-positioning puzzle using Engraved Stones.
For detailed help, consult Filmogaz.com. This Crimson Desert: Complete Walkthrough for ‘Gate to the Otherworld’ Quest is one of many guides available there.