


Setting Up an At-Home NAS Server for Secure Photo Storage
In today’s digital age, secure storage of photos is paramount. A Network Attached Storage (NAS) device offers a private, alternative solution to popular cloud services for backing up your images. This article will guide you through setting up an at-home NAS server specifically for secure photo storage.
Understanding NAS: Your Private Cloud
NAS is an acronym for Network Attached Storage. It serves as a centralized storage solution accessible over your home network, allowing you to store, manage, and backup your photos without relying on third-party cloud services.
Benefits of Using a NAS
- Full control over your data and privacy.
- Elimination of reliance on external cloud providers.
- Access your photos remotely using manufacturer apps.
Choosing the Right NAS for Secure Photo Storage
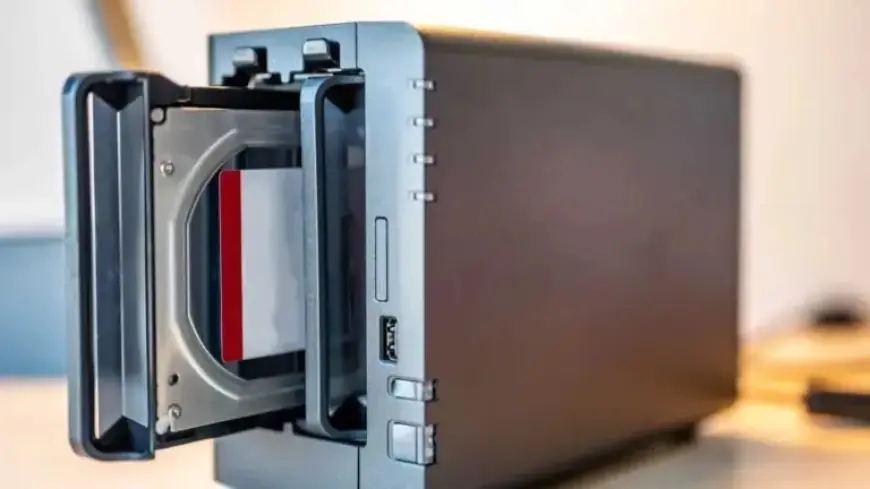
When selecting a NAS, look for models with at least two drive bays, often called “2-bay NAS.” Popular choices include devices from Qnap, Synology, Asustor, and Terramaster, priced between $130 and $200 for an empty enclosure.
Essential Features to Consider
- At least one USB 3.2 port for external device connectivity.
- Gigabit Ethernet for optimal file transfer speeds.
- Compatible with specialized NAS drives from reputable brands.
Setting Up Your NAS
Once you have your NAS, initialization is straightforward. Connect it to your router via a LAN cable, then access it through a web browser using a specific URL provided by the manufacturer. This process typically prompts you to complete initial configuration settings.
Data Security with RAID 1
For enhanced data protection, set up your NAS drives in a RAID 1 array (disk mirroring). This means that your data is simultaneously stored on both drives. If one drive fails, your information remains intact on the other drive.
Managing Photos on Your NAS
Most NAS devices come equipped with built-in photo management systems. These systems allow for easy transfer and organization of images. Once initialized, install the designated photo management app from your NAS’s app marketplace.
Transferring Photos from Your Phone
To back up images from your smartphone, install the NAS manufacturer’s app and log in using your NAS account. Follow the app’s setup wizard to configure automatic backups of photos taken on your phone.
Conclusion
Setting up an at-home NAS server for secure photo storage is a practical choice for anyone concerned about privacy and control over their data. By understanding the features and setup processes, you can create a robust solution for managing your digital memories.